Welcome to a brand new blog feature called "Craft Fair-ology" will take place every Tuesday from now until I stop having helpful tips to give you!
But wait, you don't have to be a craft vendor to learn something useful! I will be mentioning how to apply these tips and techinques for display and storage to other aspects of your life as well... truly win-win!
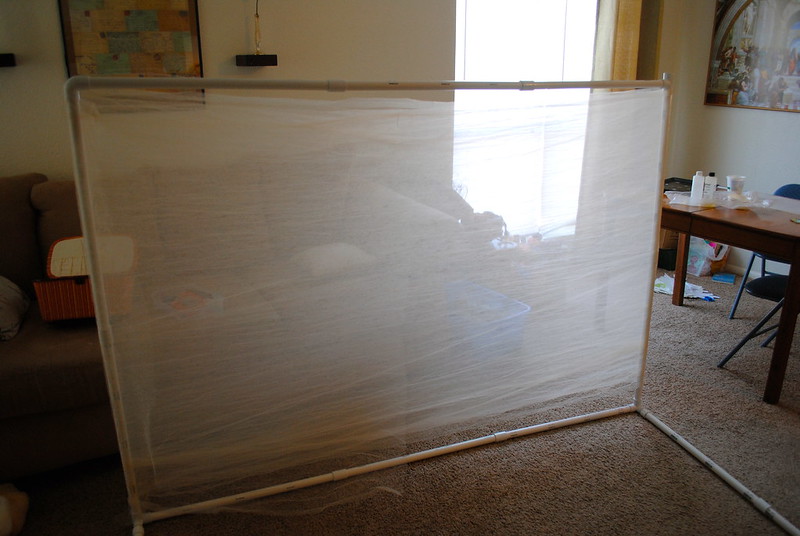
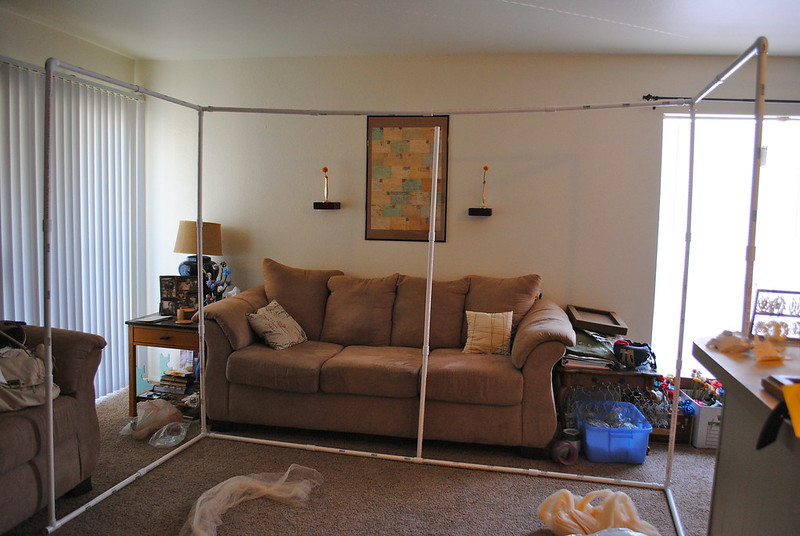
Me and my plain Jane moveable walls - you'll find out how to fancy them up in the coming segments!
If you've ever sold at a craft fair, you know that there are a lot of factors to consider - the audience, the space you'll have, the items you want to take, the temperature - everything! You never know who you'll be set up next to, whether you'll be near a wall, what the color scheme will be in the room - sometimes you're not even sure of the dimensions you'll have to work with! It's easy to get overwhelmed. There's so much to be prepared for!
So here's a great way to deal with some of these stressors and grab a little bit more control:
build yourself some easy, DIY, moveable walls.
So whether you are an entrepreneurial DIY-er or a Scentsy consultant, a crafter or a person looking to be creative with your living space, this easy technique for mobile walls is for you!
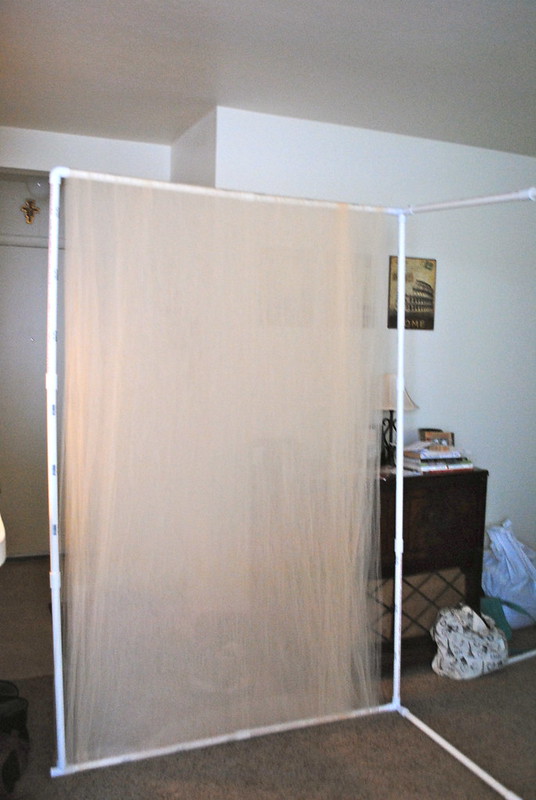
Welcome to my living room.
Okay, so, here's how it works:
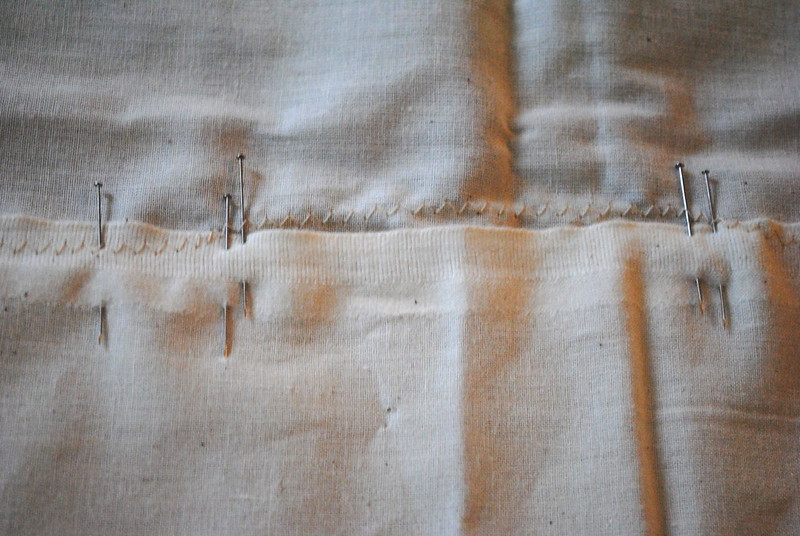
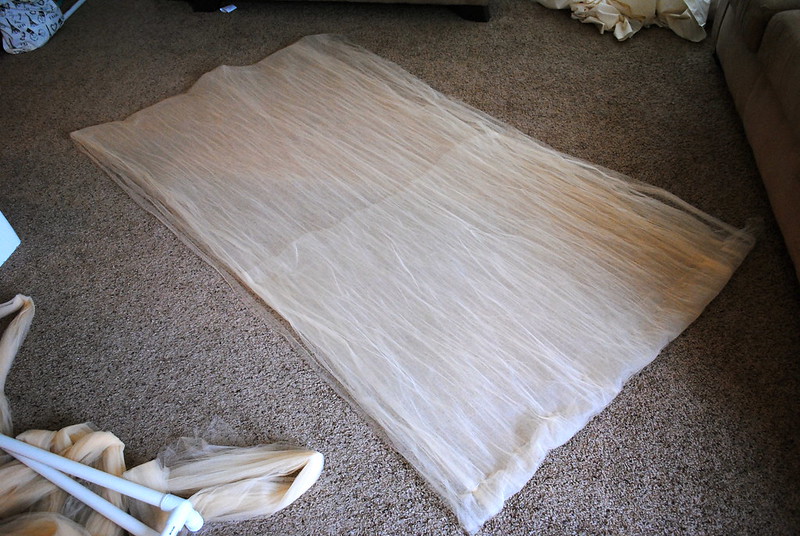
These walls are made out of fabric and PVC piping. Today we will go over the piping - what to get, how much to get, and how to put it together. Hop back over here next Tuesday for the full tutorial on making the fabric covers for the walls and putting it all together.
My wall strategy is to have what I need to make booths from 8x8 to 10x10 without changing what I bring with me:
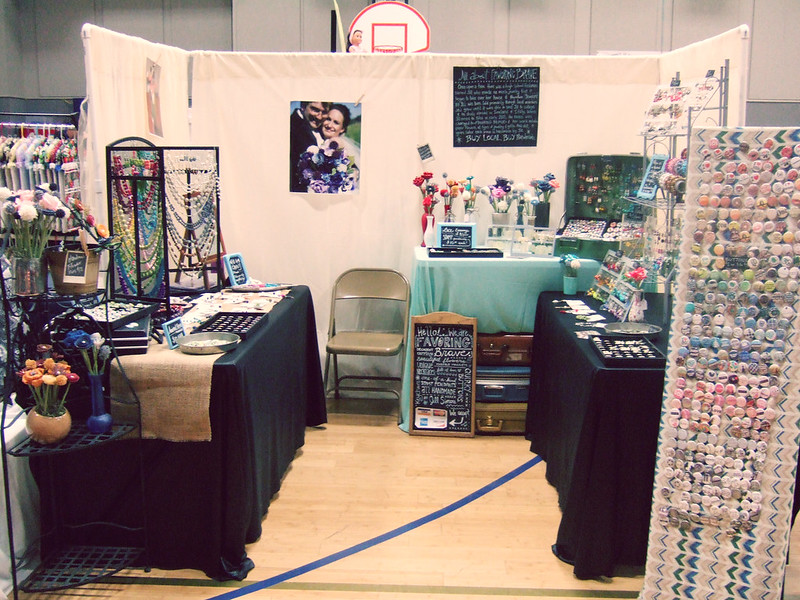
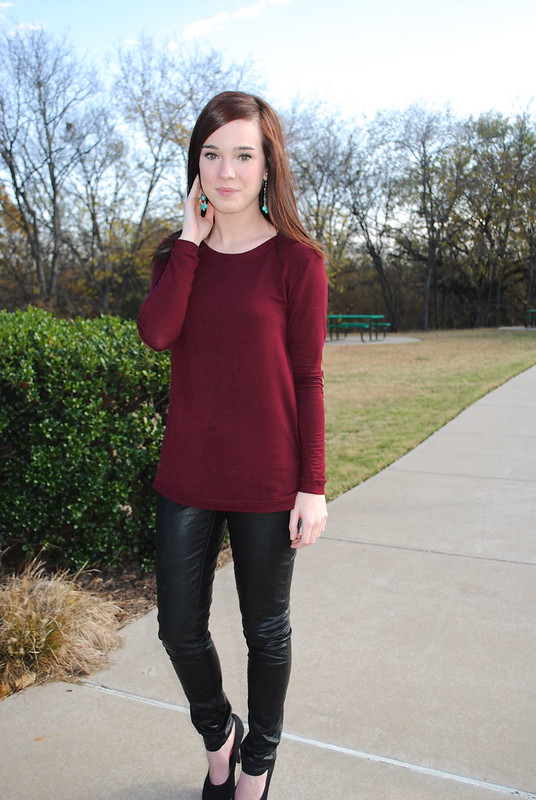
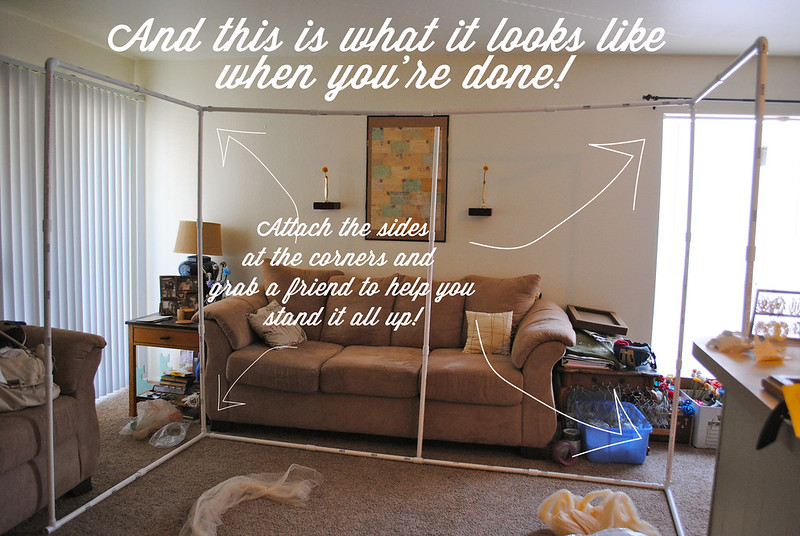
- When I am at a show with 8x8 booths, I have one 8ft long x 6 ft tall back wall and two 4 ft long x 6 ft tall side walls so the front half of the space is not enclosed, as in the picture at the top of this post.
- When I am at a show with 10x10 booths, I have one 10ft long x 6ft tall back wall, one 2ft long x 6 ft tall side wall and one 4 ft long x 6 ft tall side wall, which makes for a pretty open space.
My booth space is not fully inclosed, since I like to keep some camaraderie between my neighbor vendors and myself, but
this tutorial can be adapted to make any size enclosure, just be sure to adapt the shopping list accordingly.
I bought 1/2 inch PVC pipe precut into 2 ft. sections.
- If you are ambitious/like power tools/have a bribe-able handy person in your life you can buy the 10 ft long pieces of PVC, which are significantly cheaper per foot, and cut them yourself. For us mere mortals, this is unnecessarily messy/complicated and so we bite the bullet and buy the stuff pre-cut.
Six feet tall seems to be a very good height for these walls, as they are tall enough to enclose the space, but aren't so tall that the fram gets too heavy for itself. Each vertical piece requires (3) 2ft pieces and (2) connectors.
It's also a good rule of thumb not to have more than 4ft of horizontal piping without some kind of vertical support, 6ft at the most. This is why I always plan to have a "crossbeam" in the middle of the back wall.
Shopping List (For my version):
- (31) 2ft sections of 1/2 inch PVC piping
- (18) 1/2 inch PVC pipe connectors
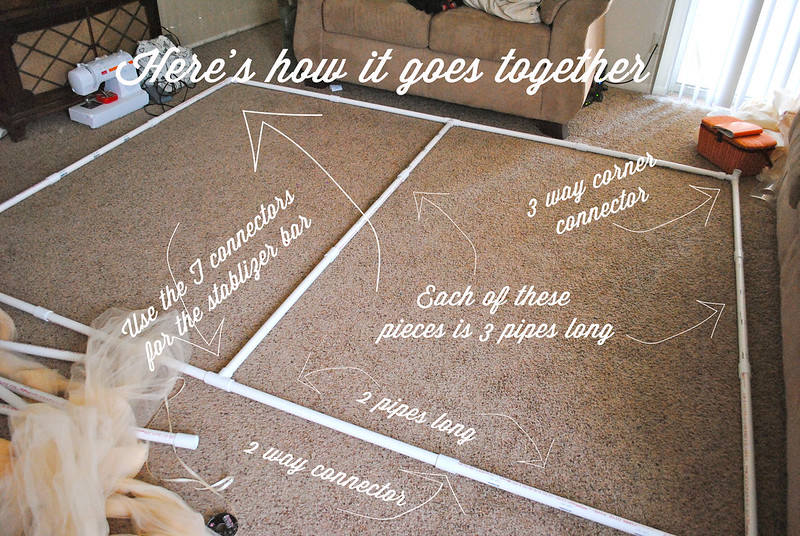
- (4) T connectors (for the stabilizer bar down the middle of the back, an the bottom front corners)
- (4) Ninety degree 3 way connectors (to connect the side walls to the back wall)
- (2) Corner connectors (For top front corners)
This all cost me about $68, even buying the pipes pre-cut. You could potentially cut this cost by half if you cut all the pipes yourself.
Here's how to put it together:
Lay out the back wall on the ground first. (Excuse the fact that the upper left corner is not connected with the 90 degree 3 way connector like it's supposed to be. Use the 3 way connectors at all 4 of the outside angles.)
After you've assembled the back, add on the two sides WHILE IT'S STILL LAYING DOWN. You WILL get frustrated if you try to do it standing up. Trust me. Please. Have some one grab one side will you grab the other and slowly pull on the frame to stand it up, making sure to keep both sides even at all times.
And just as a side note, I sell by myself all the time and shows and there is always
someone around, another vendor, a helper, an organizer, who is more than willing to help stand it up for you. It's the only step of the process that requires help.
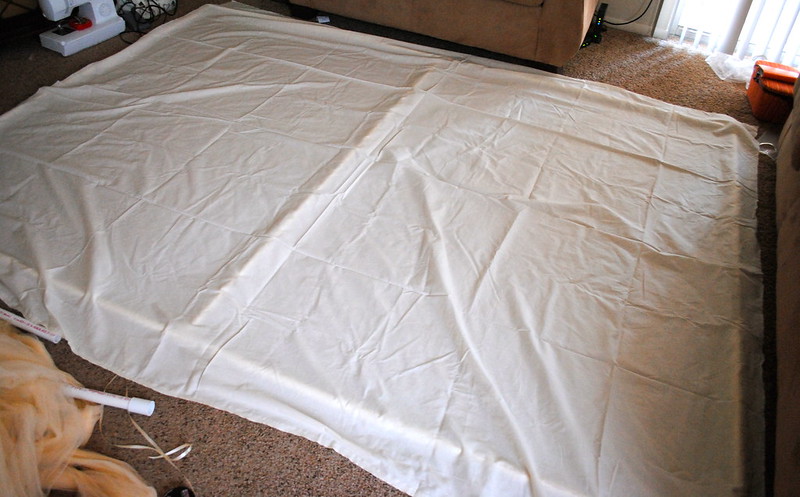
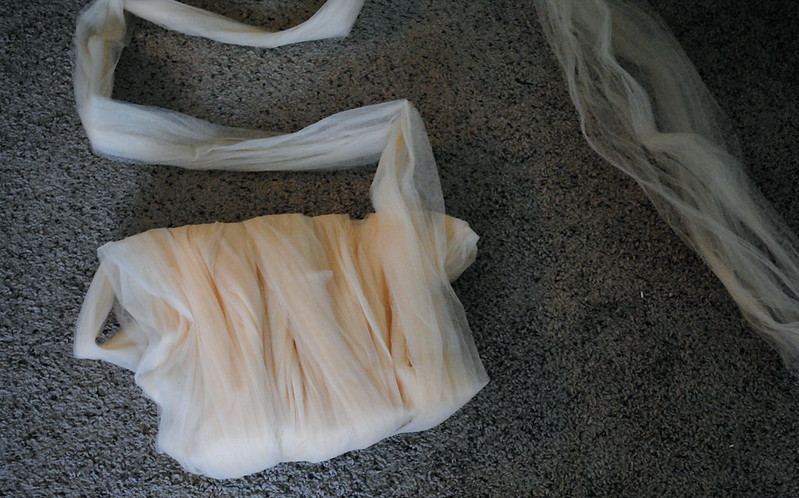
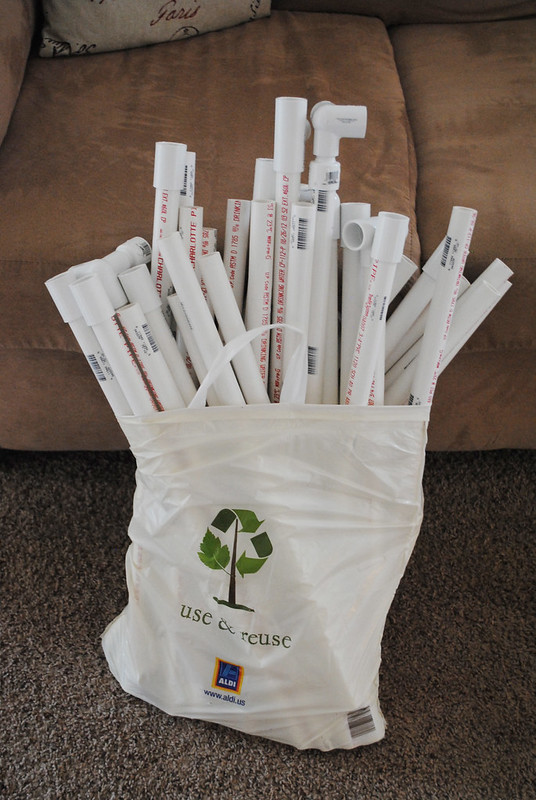
But here's the best part: when you pack up, this is how much space this takes:
Yay!
And there you go! Step one: done! Come back next week to get them all covered up and looking pretty!
peace&love,
Jill
*************************************************
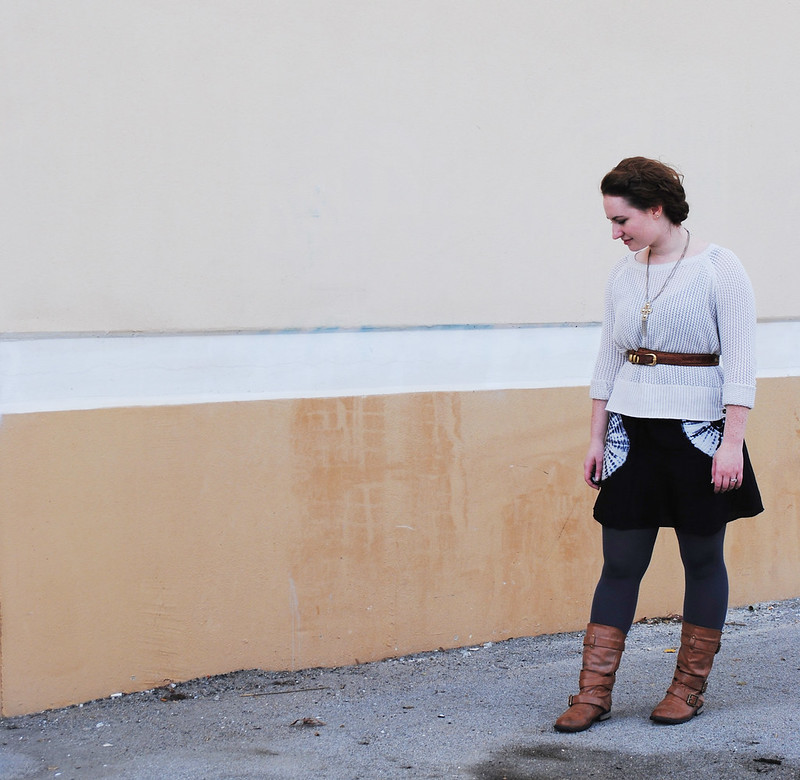
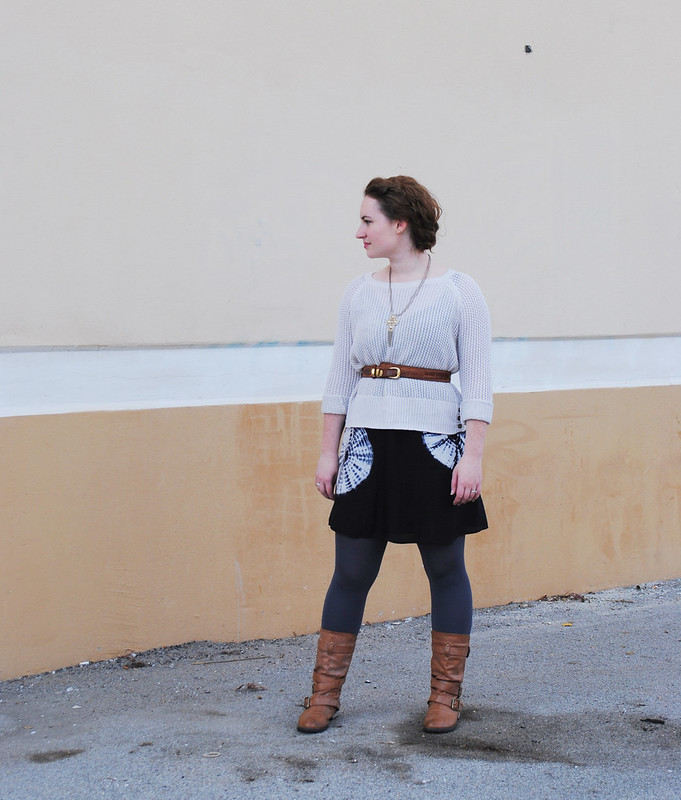
P.S. Have you heard about the 50 States of Brave Blogger Search? If you're a blogger in the US, you might want to get involved! Go here to find out what it is and what you need to do!