If you're just joining me, this is "Craft Fair-ology," my regular feature on helpful tips and hints for selling handmade goods at craft fairs.
The covers I'm going to show you are made to fit the specific panels I described last week, so head back to the last one to check those out before you jump in here.
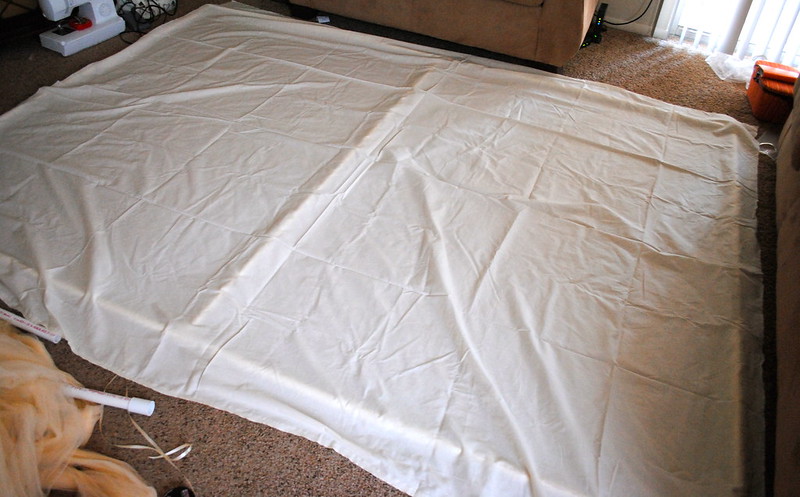
The first thing I did was lay out the back wall piping and cover it with my cloth to make sure that it would cover it completely. I used muslin. For my 8x6 back wall I needed 3 yards of 52inch fabric, and mine cost $10.32 at $3.44/yd.
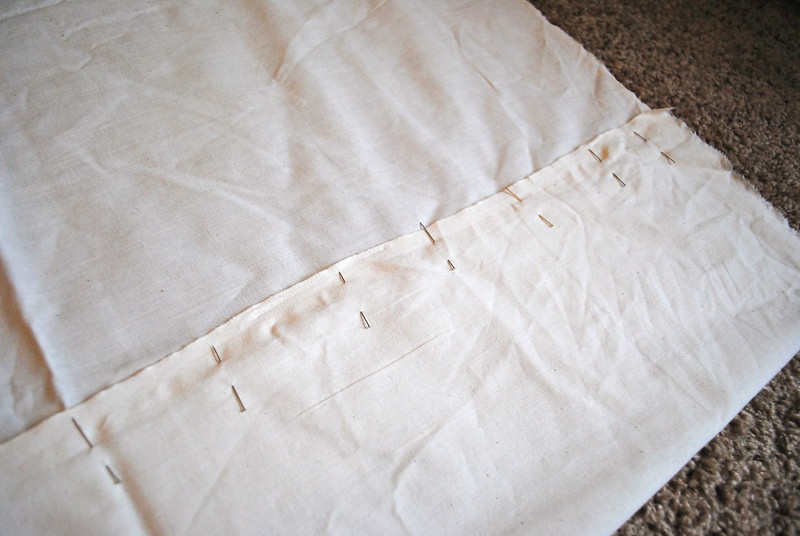
Next I measured it out the same amount of space at the top and the bottom and pinned it up. Trick I learned in costume design: Pin vertically and you can leave your pins in while you sew on the machine, like so:
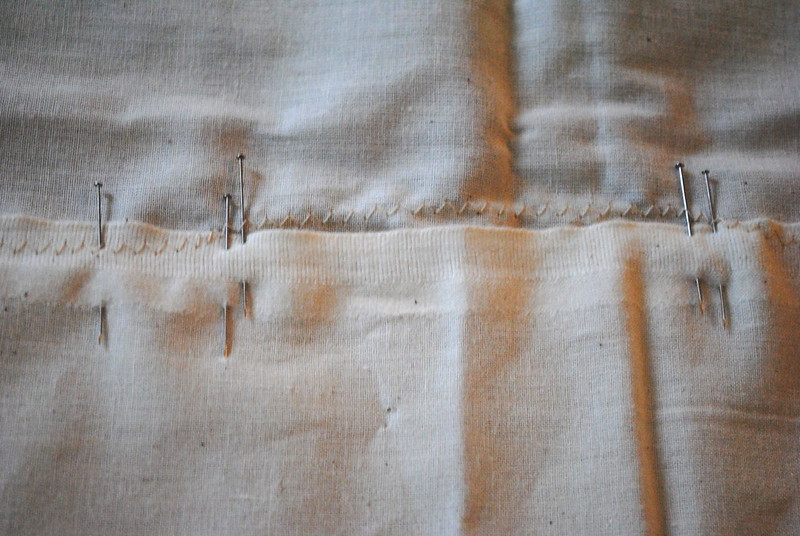
Because I have a stabilizing bar running up the middle of the back I needed to have an opening in the hem for that joint. To make sure I knew where to stop sewing on the hem I used two pins close together to show me where the hole was supposed to be, as shown below.
For the sides I used a more unorthodox technique. I knew that fabric for the whole booth could potentially cost a fortune, but I happened to have a ton of tulle lying around from my wedding and I decided to try something with it.
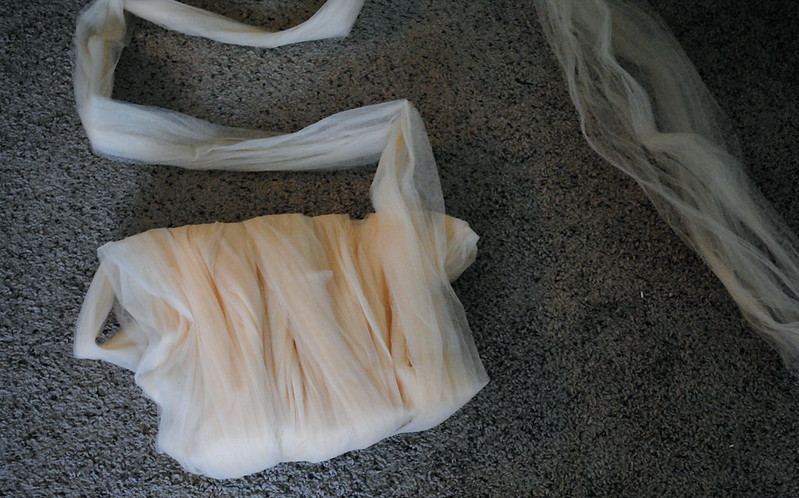
Tulle is a great option for walls because it lets light through, it can be very versatile, especially when the colors are neutral like this. First I tried keeping the tulle bunched up and wrapping it around the frame while the frame was attached to the back wall lying on the ground. This is a good option if you have a lot of tulle in one piece, but mine were already cut into pieces, so I took a different approach.
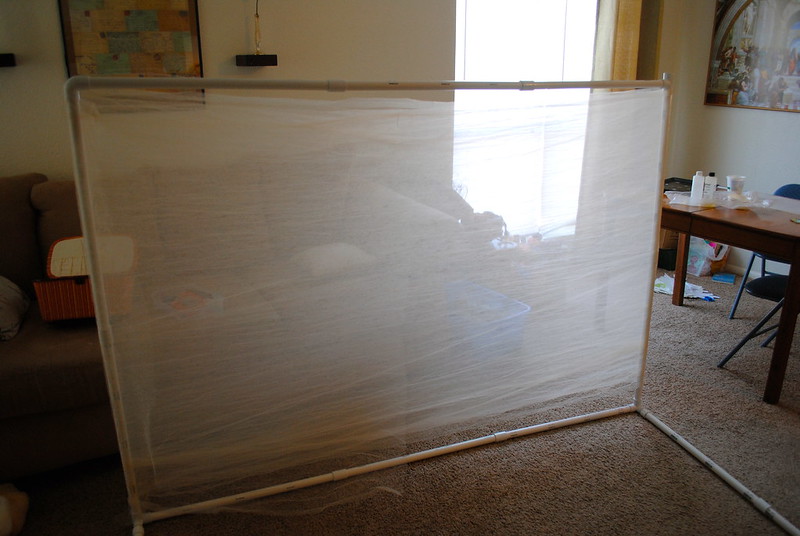
Instead I spread the tulle out completely, which was about exactly the width I needed for the 4ft walls and wrapped it around the frame out flat, as in the picture below:
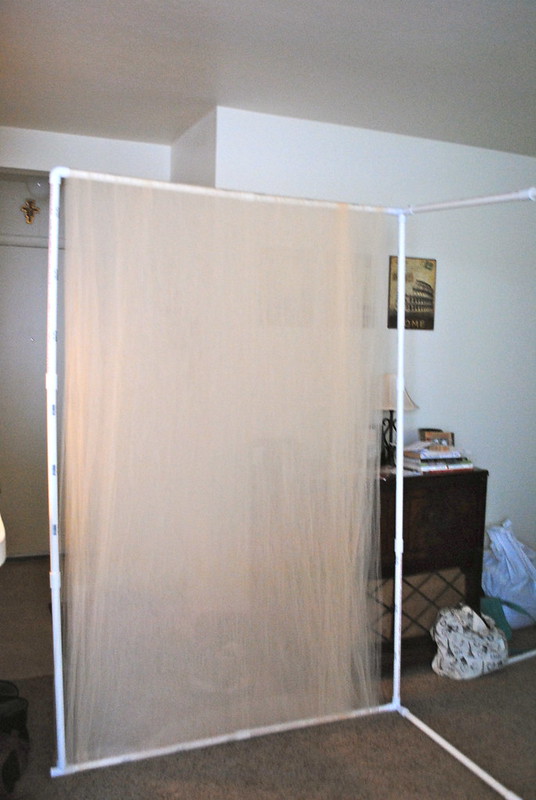
When you stand it up it looks like this!
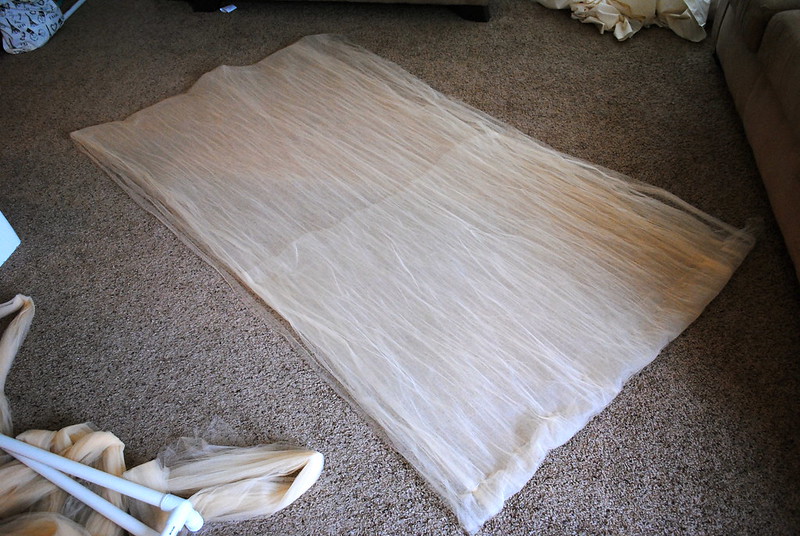
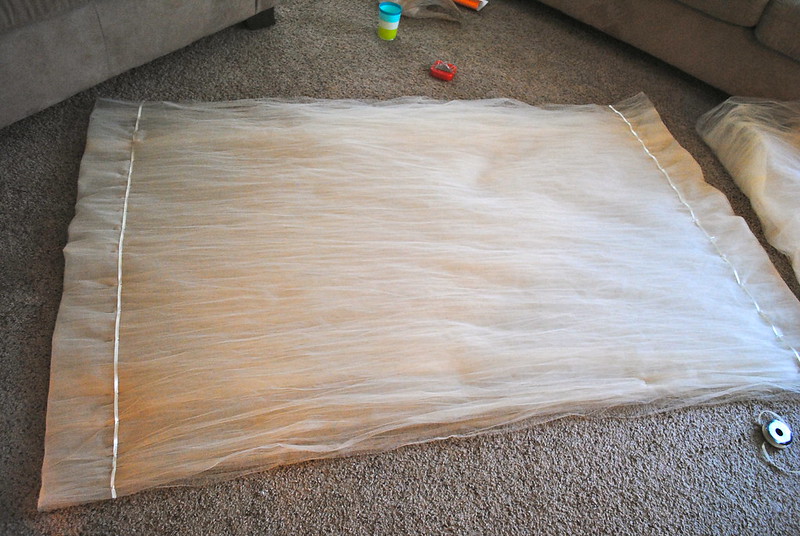
Then I laid it back down, with the back wall on the ground, and pinned up and down along the top and bottom to make sure everything stayed in the right place. Then I carefully removed the end piece so that the fabric was wrapped between two freestanding poles. I gently slid the fabric up off the poles and laid it out on the ground.
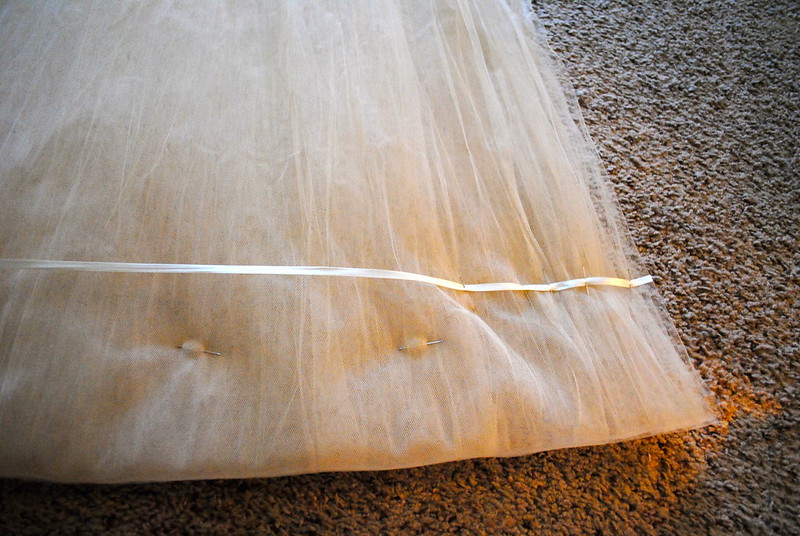
Tulle is very hard to sew by itself, so I chose to add ribbon to make it easier to sew, but you can also sew along a piece of tissue paper if you don't wanted the added embellishment. I pinned the ribbon along the length of the top and bottom to give me a sewing guide.
It's also worth mentioning that I left a LOT of space for my "tubes" at the top and bottom. The bigger the space the easier it is to just slide the pipes into them, and believe me, you don't want to be fighting for every inch getting a pipe through a tight tube when time is of the essence.
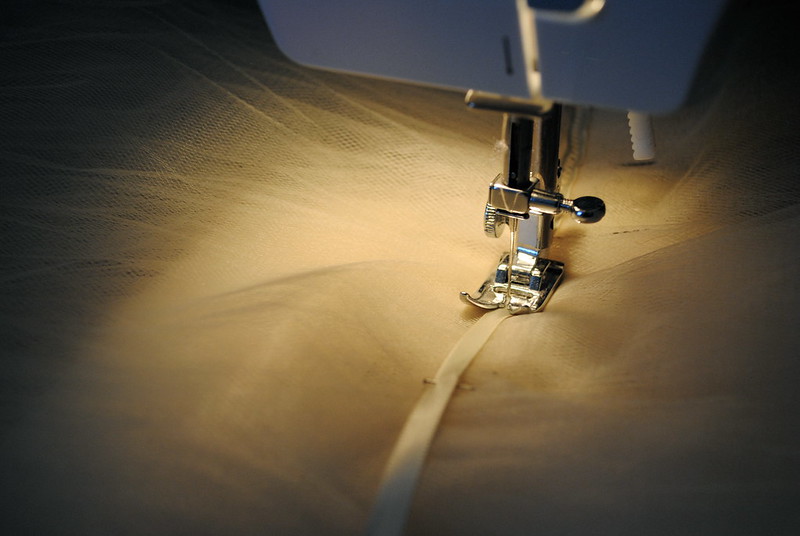
All done and time to sew! Set your machine to a zigzag and get sewing.
Repeat for the tops and bottoms of all sides. If you were smart and pinned vertically it all goes quickly, but just make sure and pull them all out!
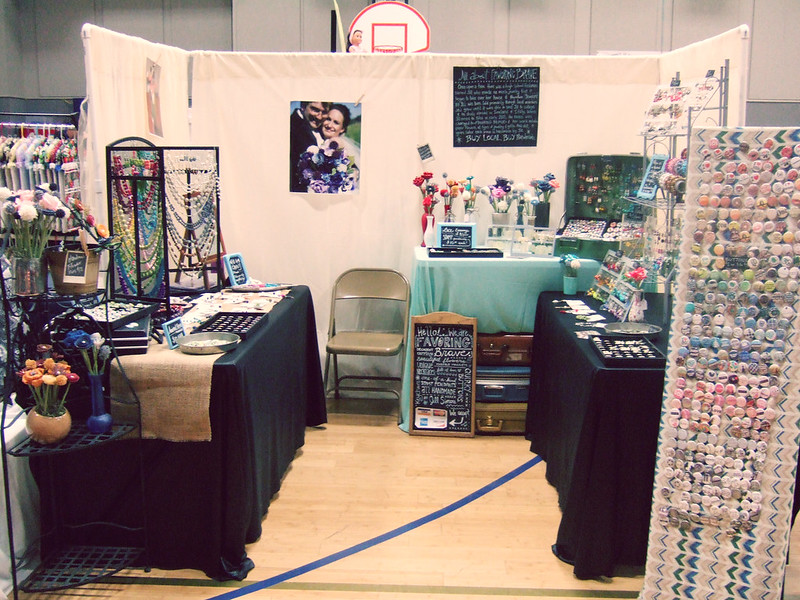
Here is the finished product. The sides are the tulle and the back is the the muslin. Not too shabby, huh?
See you then!
peace&love,
Jill





No comments:
Post a Comment